This guide covers all of the default permissions for each of the five roles in Heap along with steps to customize these permissions and create custom roles for your teammates.
If you haven’t done so already, we recommend reviewing Plan Your Data Governance Strategy to familiarize yourself with the three general approaches to data governance. Thinking through your data governance strategy will guide you when deciding on roles and permissions for your team.
For an interactive course on how to keep your Heap account clean and organized, check out our Organizing and Managing Heap course in Heap University.
Roles
When inviting teammates to Heap, you’ll be prompted to assign one of five default roles, each with increasing restrictions on the actions they can take.
| Role | Description |
|---|---|
| Admin | Has the largest range of access and can manage projects, billing information, SSO settings, the home dashboard, and delete teammates or change their role. |
| Architect | Second to the Admin. Has all the permissions of an Analyst and can manage verified events, snapshots, connect new warehouses and sources, and edit change history. |
| Analyst | Has baseline permissions to manage data in Heap. Has all the permissions of a Consumer and can create events, categories, segments, and update property notes. |
| Consumer | Has baseline permissions for contributing to the dataset. Can manage charts and dashboards, personal definitions, and invite new teammates. |
| Read-Only | Exactly as it sounds; this role can only read existing data in Heap. Can run charts, export CSV results, and add or remove themselves from emails. |
| Custom Role | In addition to the default roles above, you can create custom roles to mix and match permissions based on your team structure. |
A table of permission settings for each role is available in the Default Permissions section below.
Inviting Teammates
To invite new teammates to Heap, navigate to Account > Manage > Teammates and click the Add Teammates button at the top.
In the pop-up that appears, provide your new teammates’ email addresses, assign them a role, choose an initial environment, then click Send Invites. They’ll receive an email invite to join your Heap workspace.
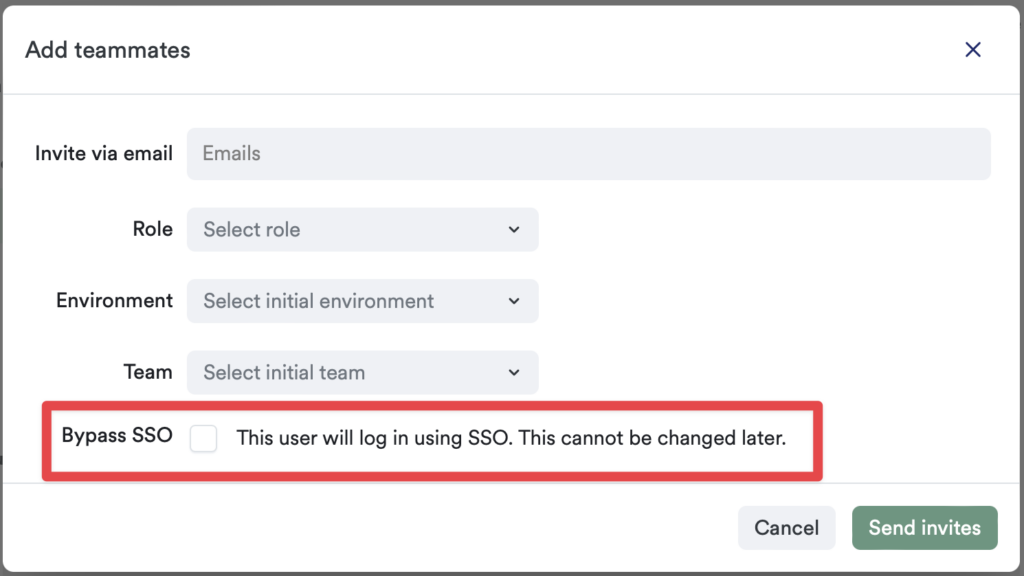
Bypass SSO
If you have SSO enabled, you will see the Bypass SSO option. Check this if you want the user to be able to set a password for logging in. You may want to do this if you have contractors or an agency that you work with that does not exist in your SSO provider.
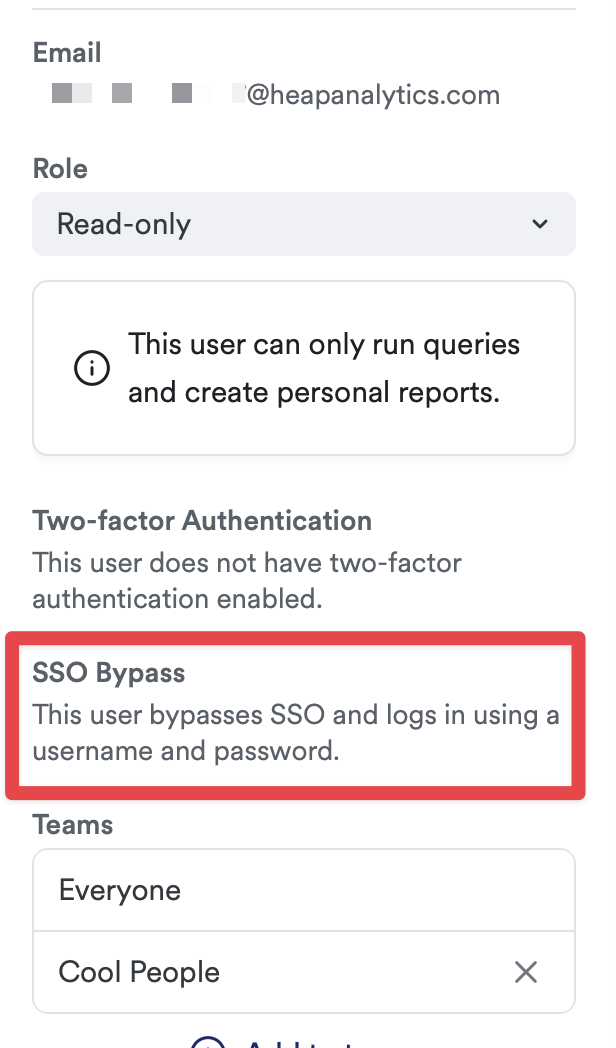
If a teammate has SSO Bypass enabled, you will see it mentioned when you click on their name on the Teammates page.
Adding teammates with SCIM
If you have SSO with SCIM enabled, you won’t see an Add Teammates button in your Heap account. Instead, you’ll directly manage teammates in your account from your IDP/SSO provider.
To re-send the invite, you can do so by clicking the envelope icon in the top navigation on the teammate details pane.
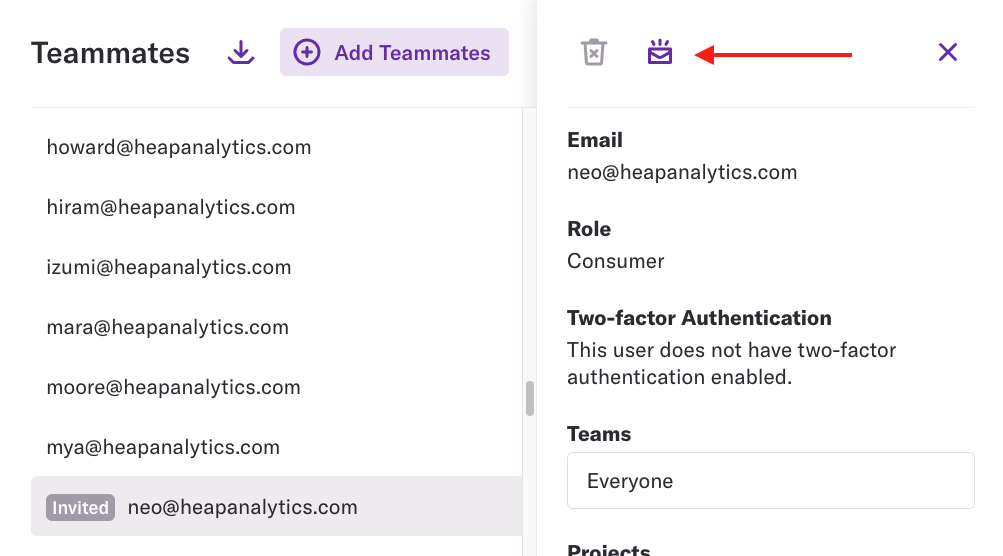
Note that this email invite expires a month from when it’s sent.
Unless your role has the Change User Permissions setting enabled, you cannot invite someone to a role that has permissions that you do not have.
Not sure what role your new team member should have? Read on for an overview of the default roles and permissions in Heap and steps to create custom roles to suit your organizational structure.
Default Permissions
When you invite new team members to Heap, you’ll be prompted to select their role. It’s important to understand the permissions associated with each role, and how these roles work within the structure of your team, to make the best choices for your team members.
By default, Heap provides five different roles with varying degrees of access within the product. These permissions define what team members can and can’t do in the app. See the permissions table below for a full overview of the different levels of access each role has.
| Read-Only | Consumer | Analyst | Architect | Admin | |
|---|---|---|---|---|---|
| Run Charts | ✓ | ✓ | ✓ | ✓ | ✓ |
| Export Charts | ✓ | ✓ | ✓ | ✓ | ✓ |
| Receive & Remove Self from Emailed Charts | ✓ | ✓ | ✓ | ✓ | ✓ |
| Manage Personal Charts & Dashboards | ✓ | ✓ | ✓ | ✓ | ✓ |
| View Session Replays | ✓ | ✓ | ✓ | ✓ | ✓ |
| Invite Teammates | ✓ | ✓ | ✓ | ✓ | |
| Manage Shared Charts & Dashboards | ✓ | ✓ | ✓ | ✓ | |
| Manage Personal Definitions (Events, Segments, Properties) | ✓ | ✓ | ✓ | ✓ | |
| Request Definition Verification | ✓ | ✓ | ✓ | ||
| Manage Shared Definitions (Events, Segments, Properties) | ✓ | ✓ | ✓ | ||
| Manage Categorization | ✓ | ✓ | ✓ | ||
| Manage Home Dashboard | ✓ | ✓ | |||
| Change Account ID Key | ✓ | ✓ | |||
| Verify Definitions & Charts | ✓ | ✓ | |||
| Edit Verified Definitions & Charts | ✓ | ✓ | |||
| Access Snapshots | ✓ | ✓ | |||
| Manage Data Capture Settings | ✓ | ✓ | |||
| Manage Heap Connect | ✓ | ✓ | |||
| Manage Integrations | ✓ | ✓ | |||
| Manage Change History | ✓ | ✓ | |||
| Manage Security Settings | ✓ | ||||
| Manage Billing | ✓ | ||||
| Manage Home Dashboard | ✓ | ||||
| Manage Teammates | ✓ | ||||
| Manage Projects | ✓ | ||||
| Manage Session Replay Capture and Sampling rates | ✓ | ✓ | |||
Customizing Permissions
Admins can also create custom roles, rename existing roles, and delete unused roles in Heap. This allows you to customize your roles to fit your organization.
This feature is only available to customers on the Premier plan. To upgrade, contact your Customer Success Manager or sales@heap.io.
Creating Custom Roles
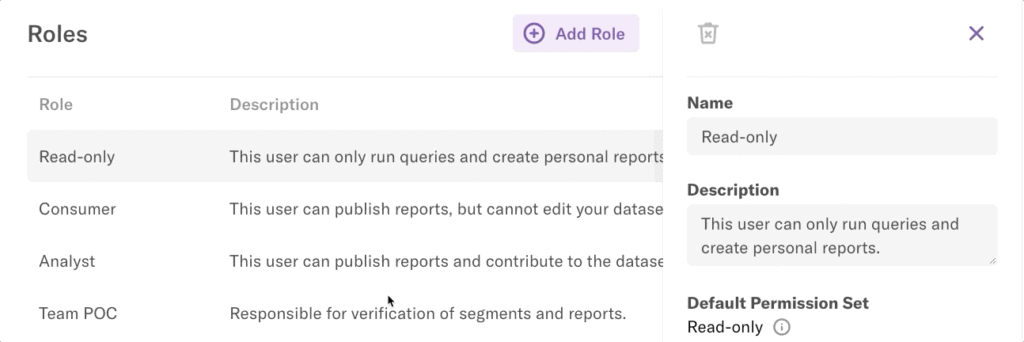
To create a new custom role, navigate to Account > Manage > Roles. From this page, click the + Add Role button in the top right.
On the page that appears, set a name, description, and default permission set for your custom role. You’ll have the option to customize this later, this is just a starting point.
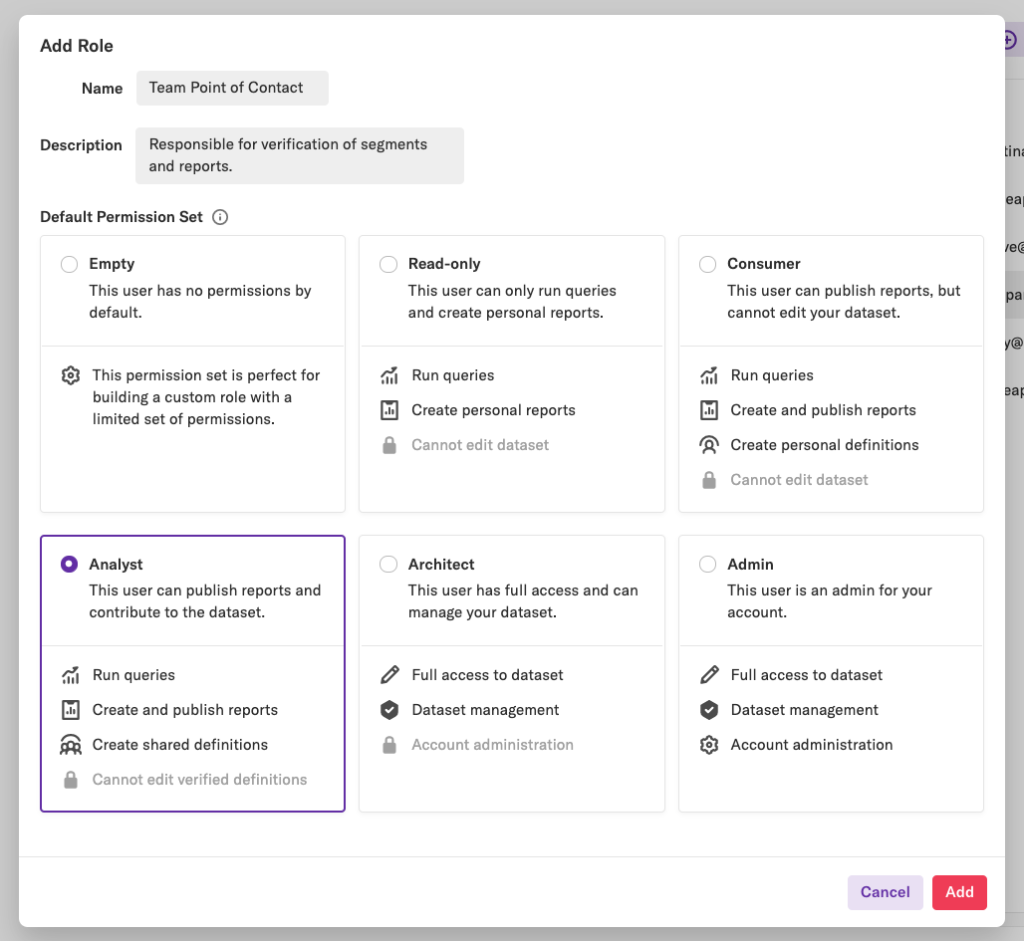
Click Add at the bottom. This will take you back to the list of roles. Click on the role you just created to pull up the role details.
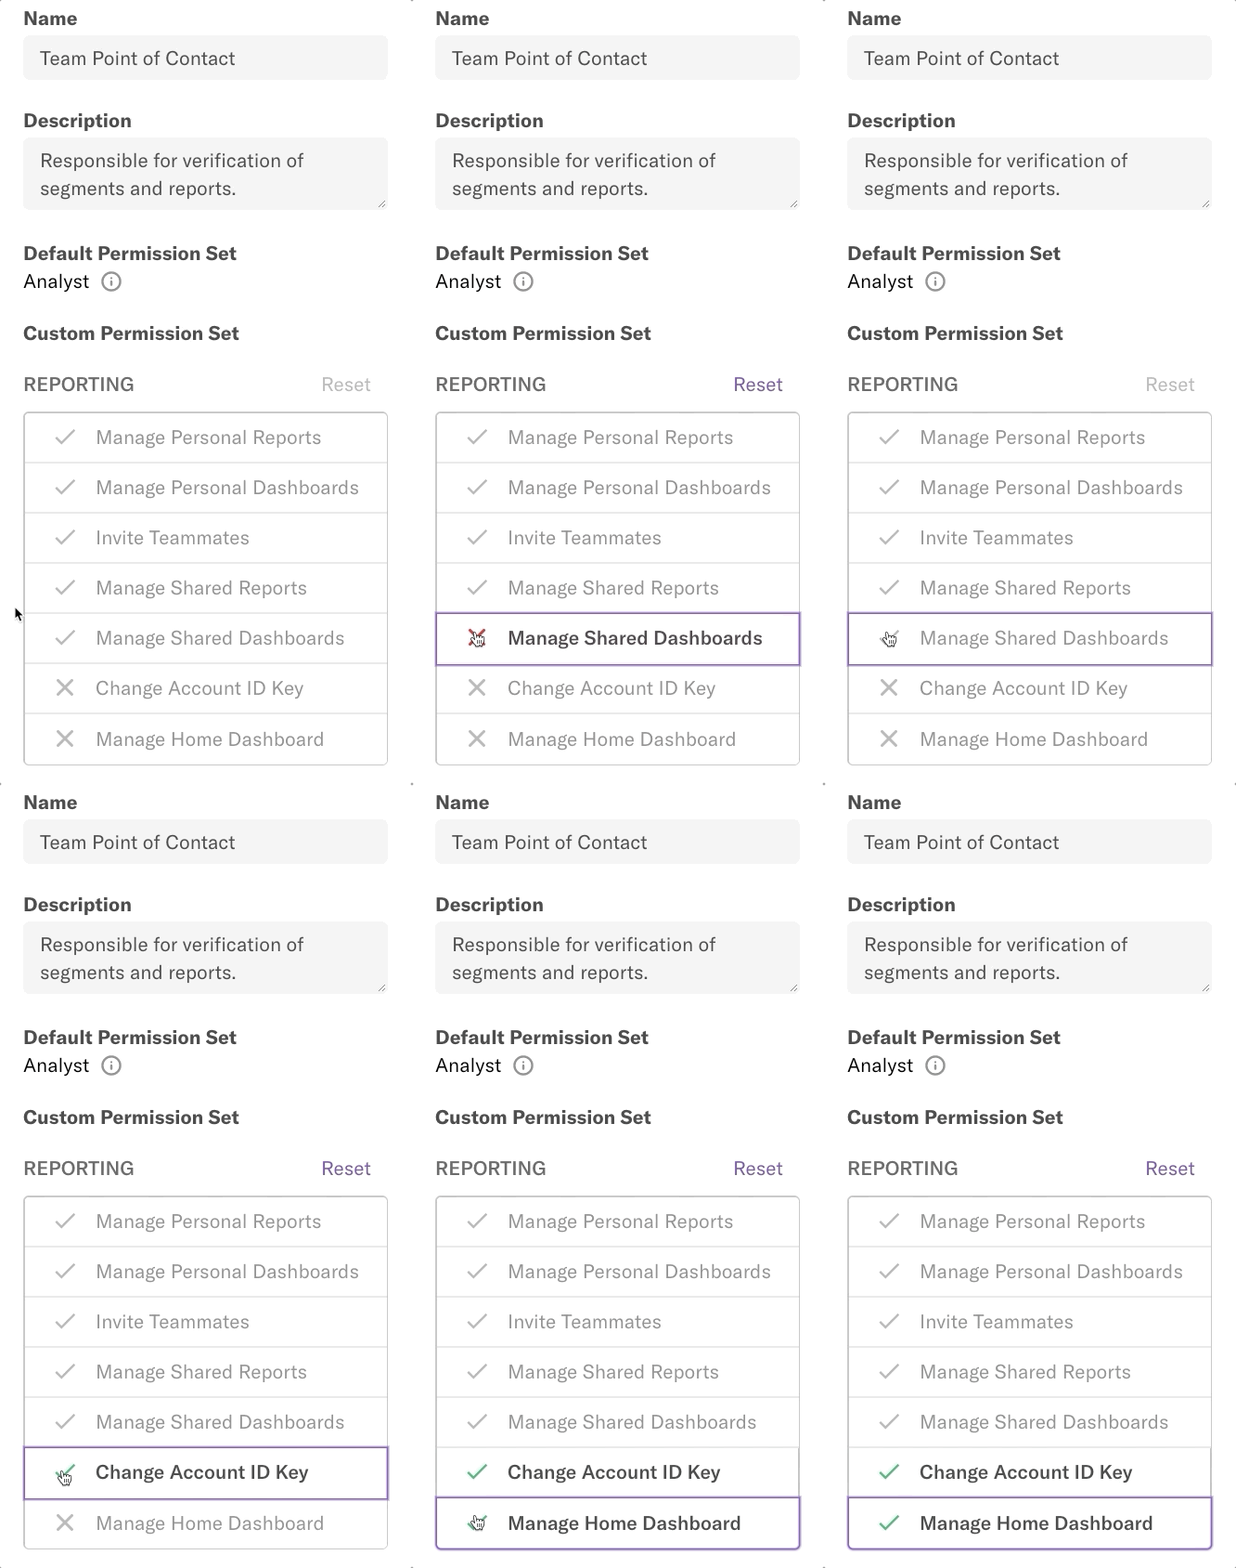
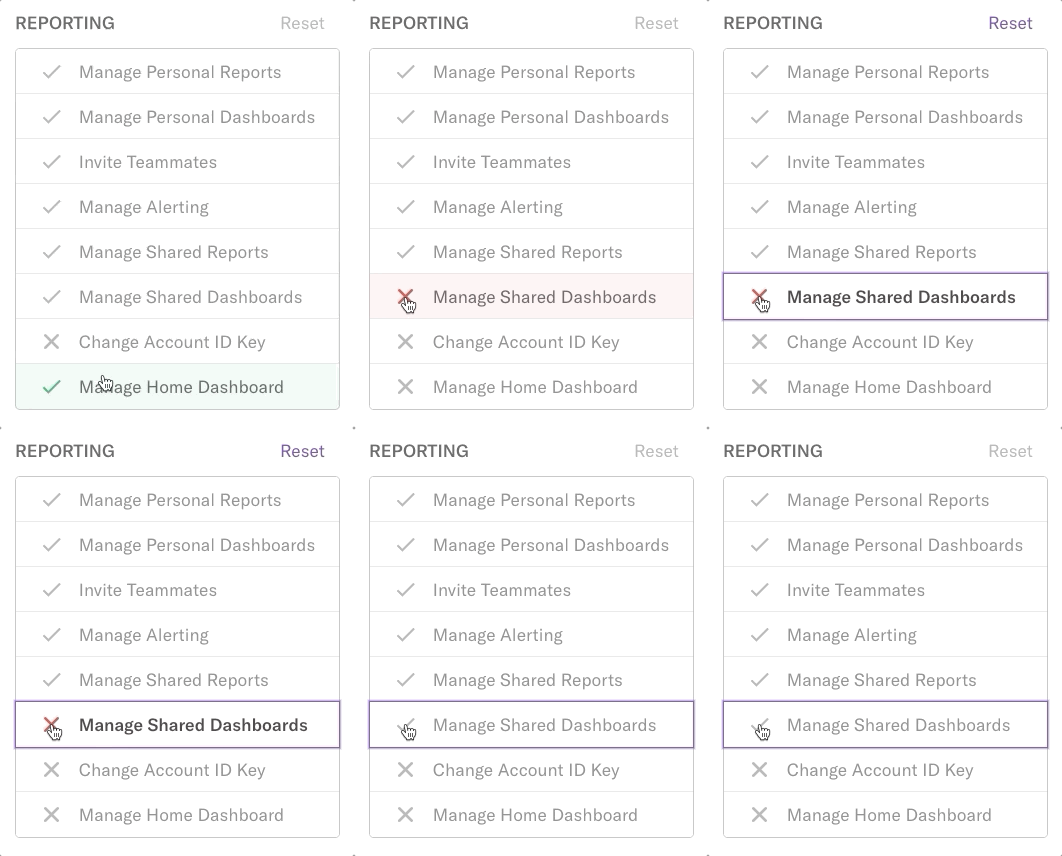
On this page, click the checkmark and X icons to the left of each permission to toggle it as enabled or disabled for this role.
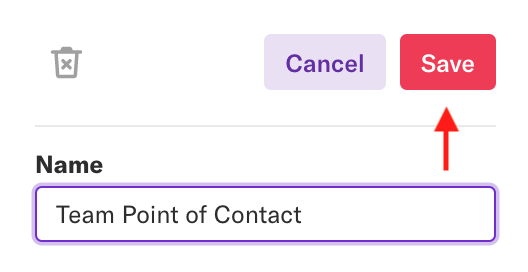
Last but not least, click the Save button at the top to update this role.
Renaming Existing Roles
To rename existing roles, navigate to Account > Manage > Roles. From this page, click on the role you’d like to rename to pull up the role details.

Click on the name field, enter your new name for this role, then click the Save button at the top.
Deleting Unused Roles
Note that you can’t delete a role that is currently assigned to one or more team members. To update those team members’ roles, see the Changing Permissions section below.
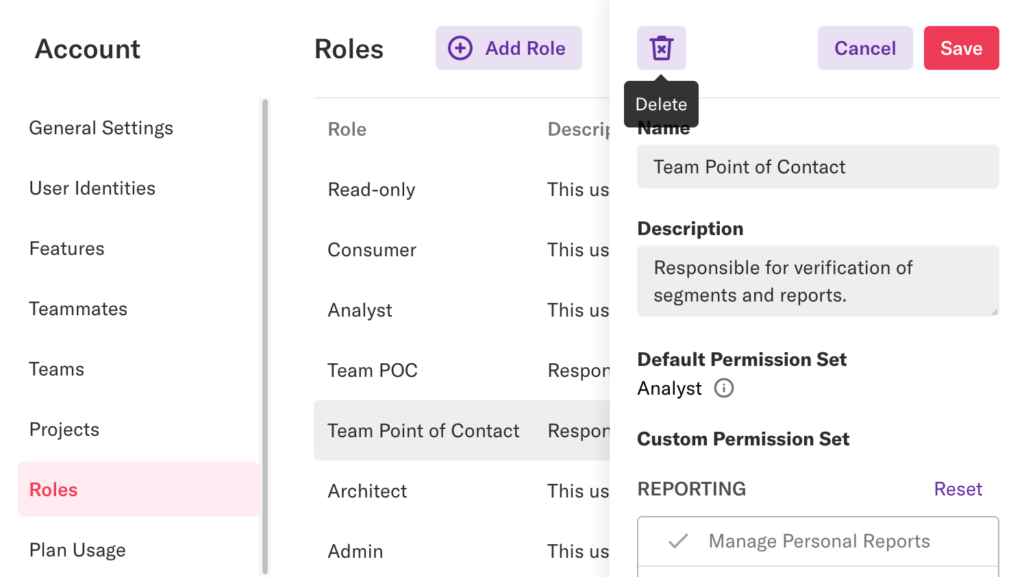
To delete a role, navigate to Account > Manage > Roles. From this page, click on the role you’d like to delete to pull up the role details.

Click the trash icon at the top of the role details screen.
Changing Permissions
To change your teammates permissions, navigate to Account > Manage > Teammates, click the team member whose role you’d like to update, then adjust the permissions by clicking on them.
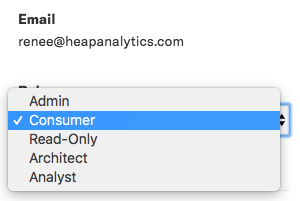
You can also set role-based permissions by clicking on a teammate. This will open up the teammate editor panel, where you can select a new permission level.
For practical advice on how to structure these roles to support a large-scale organization, see Team Permissions That Scale.
Setting Project Permissions by Team
Heap supports setting permissions by team and project. This allows you to manage granular access control at scale. Learn how to set up project-level permissions in Permissions.